System overview
A multi-clinic center hospital management platform with four main portals: System Administrator, Receptionist for Clinic Center, Doctor, and Patient.
- Appointments, billing, prescriptions
- Patient registration (phone login, optional email)
- Receptionist checkout with patient search & quick register
- Module access per clinic center
- Web installer + Database Manager for schema fixes
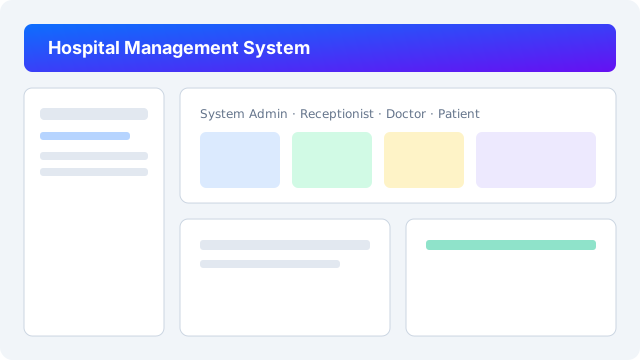
System Administrator
All clinic centers, users, payments, reports, database tools.
Receptionist for Clinic Center
Front desk for one clinic center: patients, checkout, bills, appointments.
Doctor
Schedule, consultations, prescriptions, patient history.
Patient
Register, book visits, pay bills, view prescriptions.
Server requirements
| Component | Minimum |
|---|---|
| PHP | 8.0+ (mysqli enabled) |
| Database | MySQL 5.7+ or MariaDB 10.3+ |
| Web server | Apache (XAMPP) or nginx + PHP |
| Disk | Writable config/, uploads/, .env |
Recommended: XAMPP on Windows for local demo; use HTTPS in production.
Installation guide
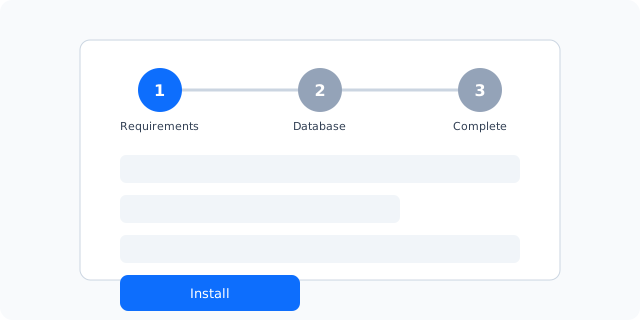
Copy project & open installer
Place the project under your web root (e.g. C:\xampp\htdocs\hospital-management-system).
In the browser open:
https://pwebsolution.com/doctorclinicmanagementsoftware/setup/
Step 1 checks PHP version, mysqli, writable folders, and database.sql. Fix any red items, then click Continue.
Database & system administrator
Enter MySQL host, database name, username, and password. Optionally tick Create database if it does not exist.
Click Test connection, then fill the system administrator (manages all clinic centers).
Click Install database & finish. Wait until the success screen appears.
First login
Use Go to login and sign in with the administrator email and password you created.
Demo launch buttons
Open the live app in a new tab. Use accounts created during setup or in admin panels.
Staff login
System Administrator, Receptionist for clinic center, Doctor.
URL: https://pwebsolution.com/doctorclinicmanagementsoftware/index.php
Patient registration
New patients: phone required; email optional.
URL: https://pwebsolution.com/doctorclinicmanagementsoftware/patient/register.php
Patient login
Patients sign in with phone number (not email).
URL: https://pwebsolution.com/doctorclinicmanagementsoftware/patient/login.php
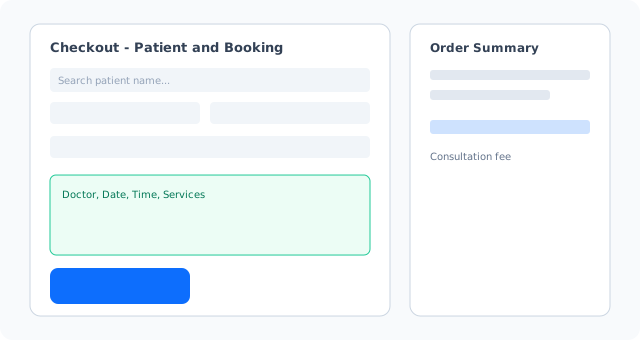
Receptionist checkout
Walk-in booking, patient search, billing.
URL: https://pwebsolution.com/doctorclinicmanagementsoftware/receptionist/checkout.php
Doctor dashboard
Appointments and prescriptions.
URL: https://pwebsolution.com/doctorclinicmanagementsoftware/doctor/dashboard.php
Database manager
System admin — apply schema migrations.
URL: https://pwebsolution.com/doctorclinicmanagementsoftware/admin/database_manager.php
System administrator guide
- Log in at staff login with the email/password from installation.
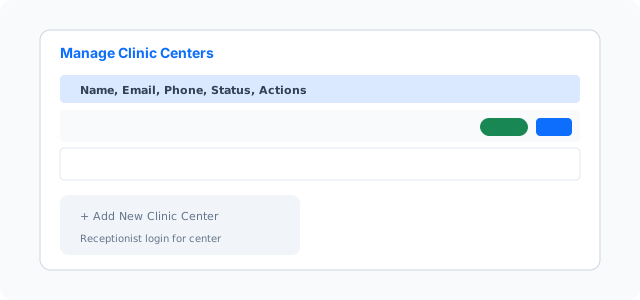
- Clinic Centers — menu Clinic Centers: add each location (name, email, address). On create, set the first receptionist login for that center.
- Users — create doctors and receptionists for each clinic center; assign staff to the correct center.
- Doctors — add doctors, primary clinic center, weekly availability per center.
- Patients / Payments / Reports — view data across all centers.
- Database Manager — apply migrations if schema warnings appear.
Receptionist for Clinic Center guide
Login — enter email; if assigned to multiple clinic centers, select the center you are working at today.
Dashboard — switch current clinic center if you work at more than one.
Patients — search, add, edit; duplicate phone is blocked per clinic center.
Appointments — book, reschedule, view registration vs service clinic center.
Checkout — walk-in booking and payment (see detailed section below).
Bills / invoices — collect dues, print invoices, prescription fees.
Doctor guide
- Log in; select clinic center if you practice at multiple centers.
- Appointments — today’s list, status updates, patient details.
- Prescriptions — create, add tests/medicines, set amounts (receptionist may finalize billing).
- Patient history — view past visits for the selected patient.
Patient portal guide
Register — name, phone, age, gender; choose home clinic center; email optional.
Login — use registered phone number and password.
Appointments — book doctor, date, time; view upcoming and past visits.
Bills & prescriptions — pay online where enabled; download/print documents.
Receptionist checkout — step by step
If multiple clinic centers: choose patient clinic center (where they are registered).
Database manager
After upgrades or manual SQL edits, open Admin → Database Manager as system admin (menu URL: /admin/database_manager.php).
- Review pending migrations (e.g. nullable patient email).
- Run Apply on each pending item — one at a time.
- Use backup tools before major changes (Backup Manager in admin).
Troubleshooting
.env and config/installed.lock exist. Check Apache/PHP error log.